Troubleshooting · Helpful Guides
How to Run the Windows Audio Troubleshooter
Guide details
- Written by
- Truly Helpful Guides
- Published
- Last updated
- Sections
On this page10 sections
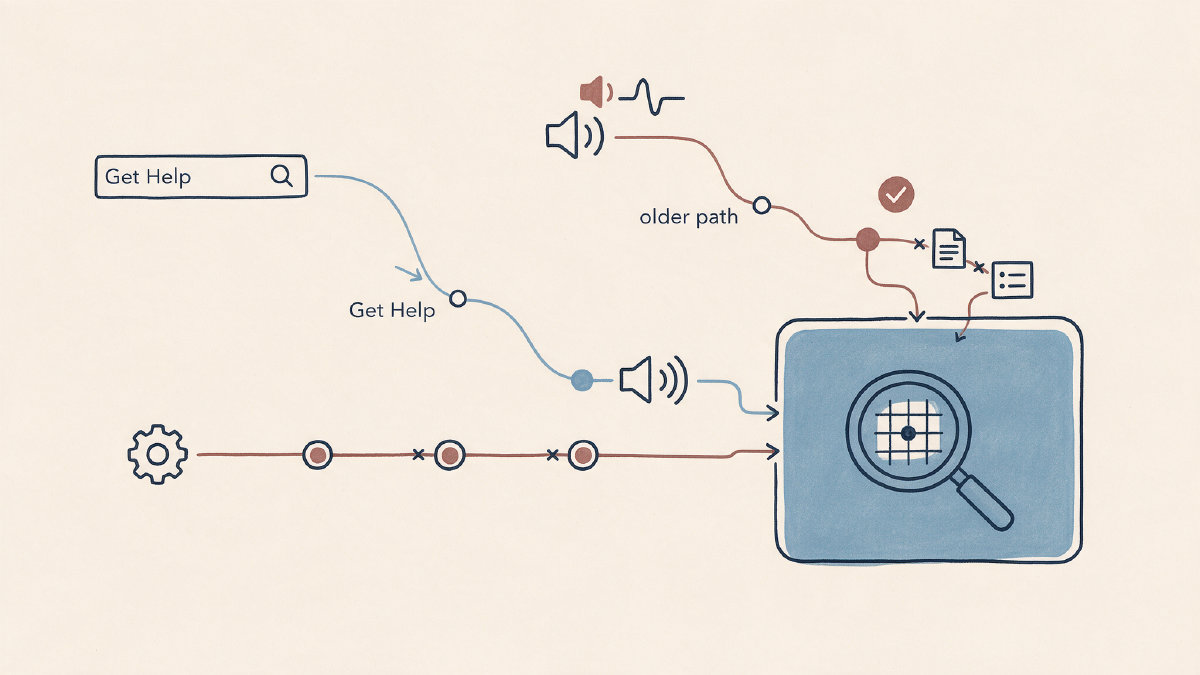
The first automated check that you’ll likely perform when troubleshooting sound issues is the Windows audio troubleshooter, part of the Get Help menu. While the troubleshooter’s findings may not fix the issue, they are an important diagnostic step in isolating possible remedies.
Launching the Get Help troubleshooter
To launch the current Get Help audio troubleshooter:
Click or tap Start > Get Help, search for “audio troubleshooter,” and then click Yes to consent to running it.
After the scan completes, follow any prompts that appear, such as adjusting the volume level.
Running it from Windows Settings
If you’re using Windows 11 or Windows 10, you can also run the Windows audio troubleshooter from within Windows Settings. In each case, the labels available to you might be slightly different because some versions point users toward Get Help.
Windows 11
Click or tap Start > Settings > System > Troubleshoot > Other troubleshooters.
In the Audio section, click or tap Run next to Playing Audio.
You can also find a link to the current Get Help automated audio troubleshooter by clicking the Start menu icon, then typing audio troubleshooter.
Windows 10
Click or tap Start > Settings > Update & security > Troubleshoot.
On the right-hand side of the window, select Playing audio and then choose Run the troubleshooter.
Once the troubleshooter completes its work, you should see either that your system is free of audio issues or that it found some possible fixes for you to apply. If it finds problems but doesn’t resolve them, you’ll want to continue with other troubleshooting steps. Otherwise, you might have found what’s keeping your speakers or headphones silent: perhaps you’re muted or the volume isn’t at a high enough level, but there’s a good chance that your device isn’t even working at all. Here are some safe manual checks you can do to troubleshoot this issue further.
Manual sound checks
Settings > System > Sound
Click or tap on the Output device (if your laptop has multiple internal speakers, you might need to set that default). Then adjust the system volume, app volume, or speaker volume if applicable. Mute could also be preventing sound.
Physical cables, power, plugs
Double-check that you’ve plugged everything into the correct USB port or outlet. Try an alternate USB port. Are your cables fully inserted?
Alternate headphones or speakers
Plug in a different pair of headphones or a pair of external speakers and test the sound again. If you still aren’t hearing anything, try a new cable as well.
Common software causes
There are several reasons why your speakers or wired headphones might not be producing sound, despite the speaker icon looking normal. One possibility is that you selected the wrong output device, which means your PC isn’t sending the sound to the right place. You could also be muted, but there’s another common culprit: audio enhancements. A number of audio enhancements interfere with the ability of your headphones to play music. You can disable these enhancements here:
On Windows 11, select Start > Settings > Sound, choose the audio device you’re using, scroll to Advanced settings, and then set Audio enhancements to Off. On Windows 10, type control panel in the taskbar search box, select Control Panel > Hardware and Sound > Sound, and then continue with the Playback tab below.
Select the Playback tab.
Right-click the name of the device you want to configure (for example, Realtek High Definition Audio) and select Properties.
Select the Enhancements tab.
Select Disable all enhancements or Disable all sound effects (depending on which option you see), then click OK.
Another potential cause is that your audio driver isn’t working correctly. This problem can occur after you install a new Windows update. The best way to fix it is to restart your PC. That should re-enable the driver. If it doesn’t, try updating your driver or reinstalling it. You can uninstall your audio driver via Device Manager and then use Windows Update to reinstall it. If you can’t hear any sound at all, you might need to roll back your driver or revert to a generic Windows audio driver.
Finally, you should make sure that the Windows audio services are running. Open Services by typing services in the taskbar search box. Right-click each of these services and choose Restart: Windows Audio, Windows Audio Endpoint Builder, and Remote Procedure Call (RPC).
Escalation boundary
You’ve completed both built-in diagnostics and Windows checks; if neither of them restores sound to your computer, now it’s time to escalate. Use the manufacturer support resources and the diagnostics tools provided by your PC or your audio-device maker. Don’t assume your audio hardware is definitely broken, however. There might just be a bug elsewhere in your system. You shouldn’t assume that a third-party repair tool will help solve the problem either.