Troubleshooting · Helpful Guides
Black Screen in Safe Mode: How to Recover Windows Booting
Guide details
- Written by
- Truly Helpful Guides
- Published
- Last updated
- Sections
On this page10 sections
When a black screen in Safe Mode appears after reboot, you are essentially seeing Windows start on the smallest possible subset of files and drivers. This is a recovery environment, not one where you can do anything except recover Windows itself. It’s an emergency response to Windows failure.
But sometimes Safe Mode fails itself — there’s no usable picture. That might be because Windows failed to configure some aspect of the boot configuration; or it may be that the display output failed at some point during the process.
If you’re facing a black screen, you have options. We’ll show how to reach Windows RE (the Windows Recovery Environment) via the usual steps to interrupt a stalled startup, but we’ll also walk through the cautious built-in recovery order once Windows RE appears. Finally, we’ll explain how to undo a persistent Safe Boot when Windows itself is reachable, versus what you need to do if the PC can’t display Windows.
Finally, you will see how to prepare for BitLocker recovery, which might help unlock the encrypted disk. And we’ll describe a display-output sanity check, so you know when it might actually be a hardware issue.
We’ve covered safe mode in Windows 10 and safe mode in Windows 11, including its purposes: limited files and drivers.
Let’s begin with the basics: What does it mean to interrupt a stalled startup?
Sometimes, you just want to shut down your PC after Windows fails to start. But if you can reach the PC at all, the power button should do that, even from a locked screen.
The alternative is to reach Windows as it starts up and force it to shut down. Doing this twice gives Windows a third try to load, which should put it in Automatic Repair, also known as the Windows Recovery Environment.
In practice, this doesn’t always work — it depends on the PC, the version of Windows, and the manufacturer. However, you can try it.
How? Power off by using the power button. Wait 5–10 seconds. Then restart the PC normally, and as soon as Windows begins to load — when you see the logo or spinning dots — press and hold the power button to turn it off again, and then wait 5–10 seconds. Repeat that interruption once more.
Eventually, Windows should give you the option to choose from several options to fix your PC. If you do this successfully, you’ll find yourself in the Windows Recovery Environment.
At this point, you’ll have access to Startup Repair, System Restore, and Startup Settings. The former two will attempt to correct issues with the Windows boot configuration; the latter will let you adjust the display settings.
Windows RE
Startup Repair
System Restore
Startup Settings
Advanced options
Now that you’ve reached Windows RE, here’s how to proceed to repair your PC. Note that these options should appear automatically within the Advanced Options section, assuming they were installed correctly.
You can use any of these recovery tools, but remember that they all operate at a fundamental level and may require additional effort than simply restarting the PC normally.
Start by running the Startup Repair tool. If that doesn’t work, run System Restore; if you see a list of restore points, pick one to roll back to. If there are none, then move on to Startup Settings, or use Command Prompt instead.
If Windows still won’t finish booting, you can open Command Prompt from within the Advanced Options menu. Once inside, you can run any number of commands to help resolve the issue.
If neither option fixes your problem, then you might need to perform a clean installation or reformat the drive. If the hard drive itself is failing, it’s probably better to replace it first.
Other recovery options
What about the other recovery options?
Boot Configuration Data editor
There are more recovery tools available within Windows RE, including a utility called the “boot configuration data editor” or bcdedit.exe. While it sounds complicated, bcdedit is relatively straightforward to use, though it’s best used if you already understand what changes you’re trying to make.
From Windows RE, navigate to the Advanced options menu, then click on the “Command Prompt” icon. From there, type “bcdedit /?” and press Enter. The resulting information tells you everything you need to know about editing the boot configuration.
For instance, if you configured Windows to enter Safe Mode each time it boots, then bcdedit will tell you that too.
Undo persistent Safe Boot
If Safe Mode keeps loading, it may be due to one of those configuration settings that prevents Windows from booting properly.
You can undo that change by accessing Windows’ msconfig utility. Press the Windows key + R, type msconfig, and select OK. Select the Boot tab, then under Boot options, clear the Safe boot checkbox.
If you’re unable to disable Safe Mode manually, then you’ll need to boot from the recovery media, such as a Windows installation disc or USB stick. When you boot from this media, choose “Repair your computer,” then select “Troubleshoot,” followed by “Advanced options,” and finally “Command Prompt.” From there, type “bcdedit /deletevalue {default} safeboot” to remove the Safe Boot configuration. Restart the PC to test whether it works.
Before you try any of the recovery steps below, make sure you’ve created Windows installation media or a recovery drive on another working PC. Otherwise, you won’t have the option to troubleshoot further.
Recovery media
When your PC cannot display Windows, it might still be possible to recover the operating system, depending on what happened before. There are multiple methods of doing so, but the most common is to use the installation media or a recovery drive to access a hidden Windows installation, called the Windows Recovery Environment (WRE). If WRE displays but Windows doesn’t, it could indicate either a faulty display output path or an issue with Windows itself.
Another way to recover Windows without seeing a visible display is to boot from a USB flash drive containing a recovery disk. These drives contain a minimal version of Windows, enough to allow you to access basic functions, like opening the command prompt and removing any safeboot configurations that Windows may have saved. Be warned: Some manufacturers don’t offer recovery media, and it’s possible you may never see a setup screen. In that case, you might need to contact the manufacturer or take the PC elsewhere for repairs.
If Windows Recovery Environment doesn’t produce a usable picture, your PC might still be recoverable, depending on what else failed to happen during the boot sequence. If nothing happens, your display might still be connected and working, or maybe not. If Windows loads, you’ll see a spinning dots animation and/or a message indicating that Windows is attempting to connect to your display. If you see a message like “HDMI No Output” but DisplayPort worked, you know that the display output path varied between ports. Try another cable, or plug it into another port.
It might seem logical to blame the video adapter, but that would be incorrect. Your display connection might be okay, but Windows might have trouble connecting to your GPU. If the PC continues to fail to boot, you might want to try a different cable.
Display-output sanity check
There are many things that can prevent Windows from displaying. Let’s suppose that Windows fails to boot. Here are some of the possibilities:
-
The display itself isn’t receiving power.
-
The monitor is stuck in standby.
-
There’s no signal to the display.
-
The graphics card isn’t providing any output, or is otherwise misbehaving.
If Windows Recovery Environment produces a spinning dots animation, you know that Windows itself is trying to load and that your display is receiving at least some signal; if the screen then goes black, the problem may be the next display mode or output path. You might want to check the display cable and connections. If it’s an HDMI display that didn’t work, but a DisplayPort did, that points to a problem on the HDMI output path rather than with DisplayPort. On the other hand, you might have a bad connection.
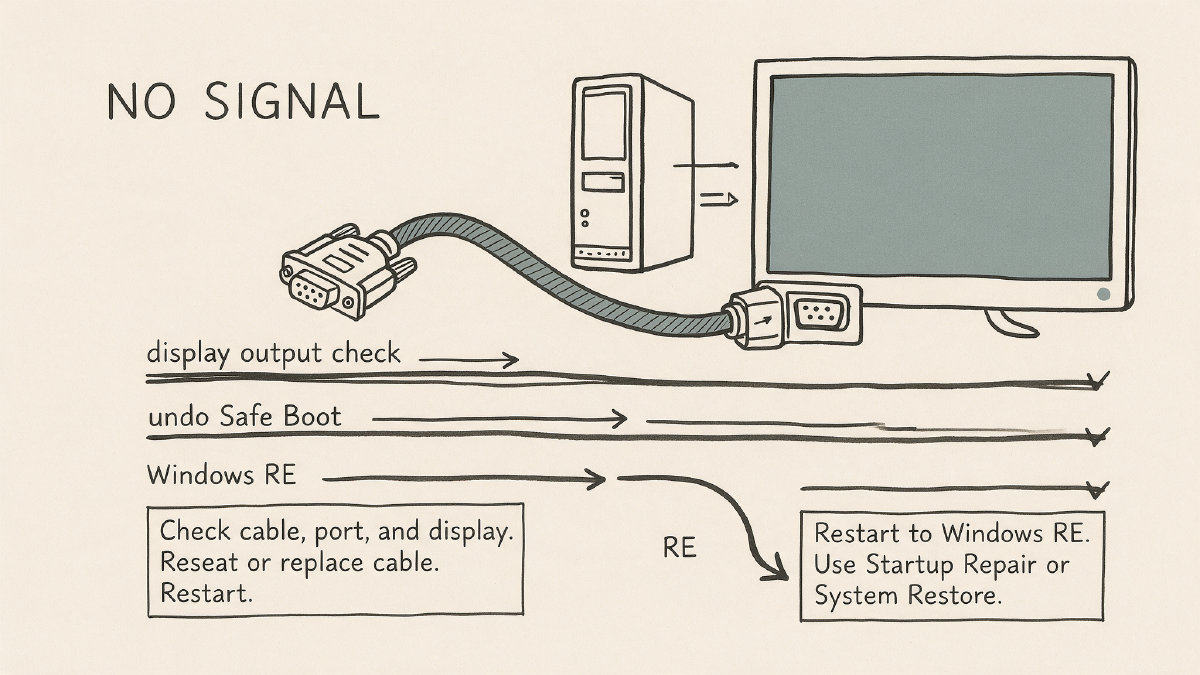
Alternatively, maybe the PC itself isn’t getting enough power, or the internal battery is dead. Again, if you see a spinning dots animation and the display remains blank, you’ll need to determine why Windows isn’t able to communicate with your display.
Diagnosing the problem
Depending on the cause of the problem, you’ll either have a usable Windows display, or you won’t. For example, if the display cable isn’t connected, or you’re using the wrong one, then you’ll see absolutely nothing from the display, and no amount of troubleshooting will help. If the PC boots up with no usable display, then the problem might involve display hardware, the GPU, storage, or another component.
On the other hand, if Windows RE or your bootable media display something, but you can’t get a normal Windows display, you’ll probably be looking for problems with the boot configuration or the Windows display state.
Enable low-resolution video
Some users will find themselves in a situation where they’ve been told they need to go into Safe Mode, only to discover that their PC won’t boot into Windows even in Safe Mode. In that case, it might be possible to enable a feature called Enable Low-Resolution Video, which lets you boot into Windows with a low resolution, but not necessarily the Safe Mode environment itself.
Microsoft says that this is part of the Startup Settings, which includes a selection of boot options, and that it enables you to “use low-resolution video while allowing Windows to use your current video driver.” It also states that you can use this mode to reset your display settings, using low resolution and refresh-rate settings. It seems odd that the low-resolution setting would be separated from Safe Mode, unless it was an intentional distinction.
Whatever the case, if you encounter a problem where Windows fails to boot even in Safe Mode, you may wish to experiment with enabling the Enable Low-Resolution Video option, which might let you bypass whatever display issue caused Windows to fail.
Stop signs
Unless you’re very confident that your PC has been properly backed up, you might wish to seek assistance if you can’t boot into Windows at all. A number of people have reported having a PC that wouldn’t boot into Safe Mode, only to find that they’d been unable to boot into the operating system at all.
In our experience, we’ve seen cases where people have asked for help, only to find that their PC wasn’t working properly. They weren’t able to get into Windows, and therefore couldn’t use the backup software they’d purchased to save their work. At that point, they realized they needed to call the professional support group. Others had tried resetting the PC and hadn’t realized that the PC had actually stopped working properly.
You shouldn’t hesitate to call a manufacturer’s support team. After all, they’ll be dealing with these situations regularly. They may be able to help you troubleshoot your problem, and may even send out a technician who’ll be able to help you fix your PC.
As always, feel free to ask questions.